Pressure Density Cups

The Pressure Density Cup is designed to measure the liquid sample density with the minimum of error. Some paints tend to pick up significant quantities of air during the manufacturing process. This instrument operates on the principle of compressing the paint to such an extent that included air bubbles are reduced to a negligible volume. It can be used with materials containing up to 10% by volume of included air and is capable of results reproducible to better than ±0.5%.
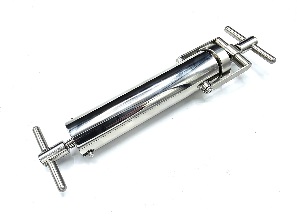
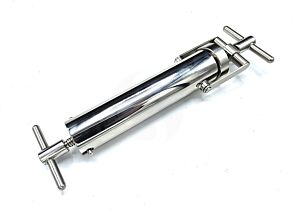
The instrument consists of a hollow cylinder with a plunger in one end and a pressure release cap at the other. Pressure can be applied to the sample of paint by advancing the plunger with the screw provided. Excess paint is forced out of the pressure release cap which is set at a value of 150 p.s.i. The instrument is so made that when the plunger is screwed home the volume of paint enclosed is that of 100ml.
In order to use the cup, the pressure release cap is removed and the plunger withdrawn to the full extent in order to give the cup its maximum capacity for filling. The cup is held vertically with the open end at the top and the paint to be tested is poured in until it is nearly full. The cup is then closed by replacing the pressure release cap.
The paint is now compressed by advancing the plunger.When the pressure in the cup reaches 150 p.s.i. paint is forced out between the cup and the pressure release cap. When the plunger has been advanced to itsfull extent the paint in the cup is at a pressure of 150 p.s.i. and the volume is the same as 100ml(that of 100 gms. of water at 16.7°C). If the temperature is other than 16.7°C there will be a small error due to the thermal expansion of the cup, which may be regarded as negligible if the temperature is between 12°C and 20°C. The excess paint is washed away from the top of the cup and the whole instrument dried.
The weight of the paint remaining in the cup is obtained by weighing the cup and its contents and subtracting the tare weight of the cup.
It is made up of stainless steel and easy to clean. It conforms to ISO 2811-4 and BS 3900 A22.
Supplied with a calibration certificate.


